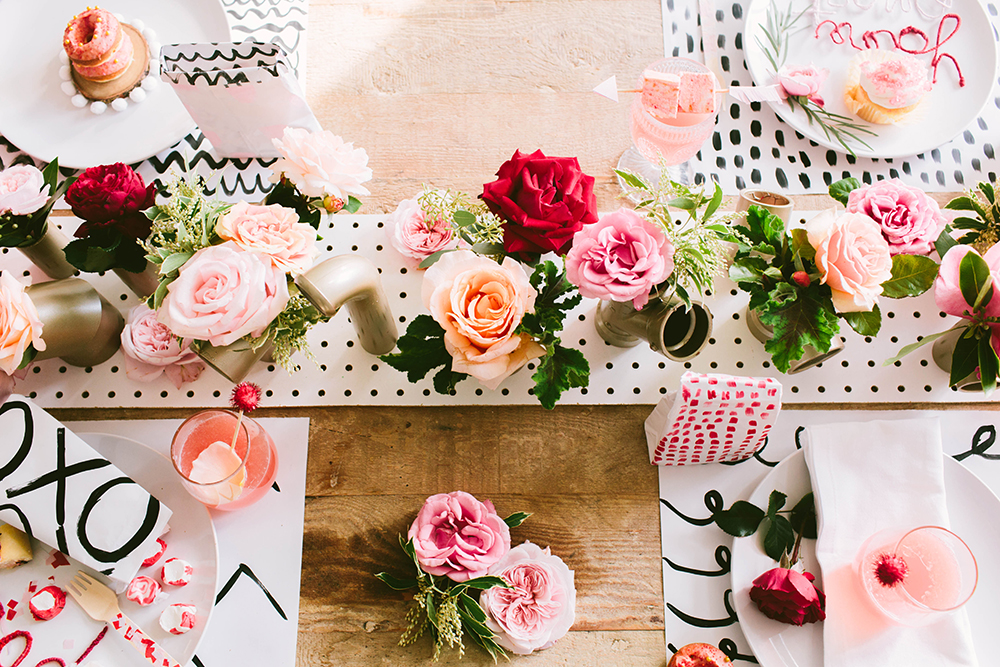
If you have been following along, I created these Metallic Pipe Vases for Lift Coffee Roasters for the Fall. I used a similar concept here, but on a larger scale to create a table runner! The colors are vibrant, and the use of fresh florals and white pegboard really give it a more modern feel!
Read through for materials and instructions!


The Goods
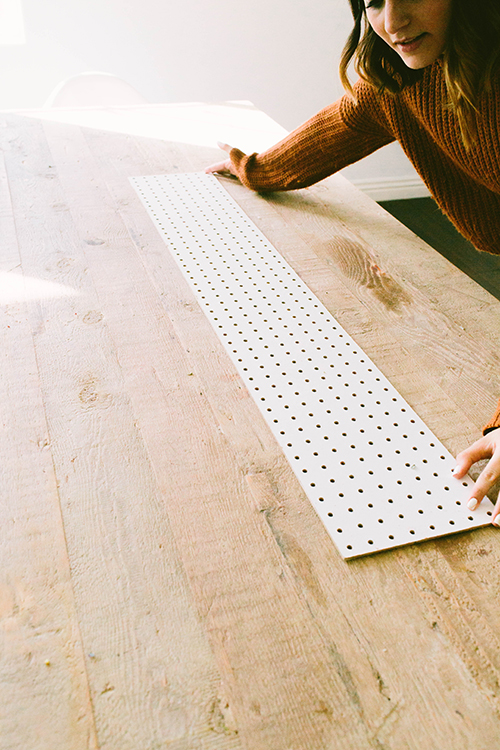
Pegboard cut to desired size
PVC pipe of varying sizes
Fresh/fake florals
Floral tubes
Spray Paint
1. Cut peg board to desired size. The peeps at Home Depot will do this for you.
2. Spray paint your pipes. I used a champagne colored paint.
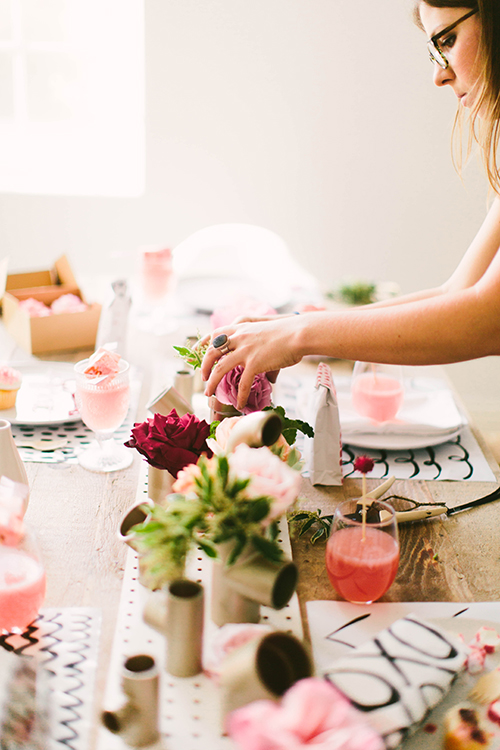
3. If using fresh florals, insert the cut stem into a floral tube with water, then place inside pipe.
4. Stagger pipes along board- I like to use the taller pipes in the middle.
dddonee + supa easy!


Photography: To Wander and Seek | Florals: Lavenders Flowers | Design: The Shift Creative
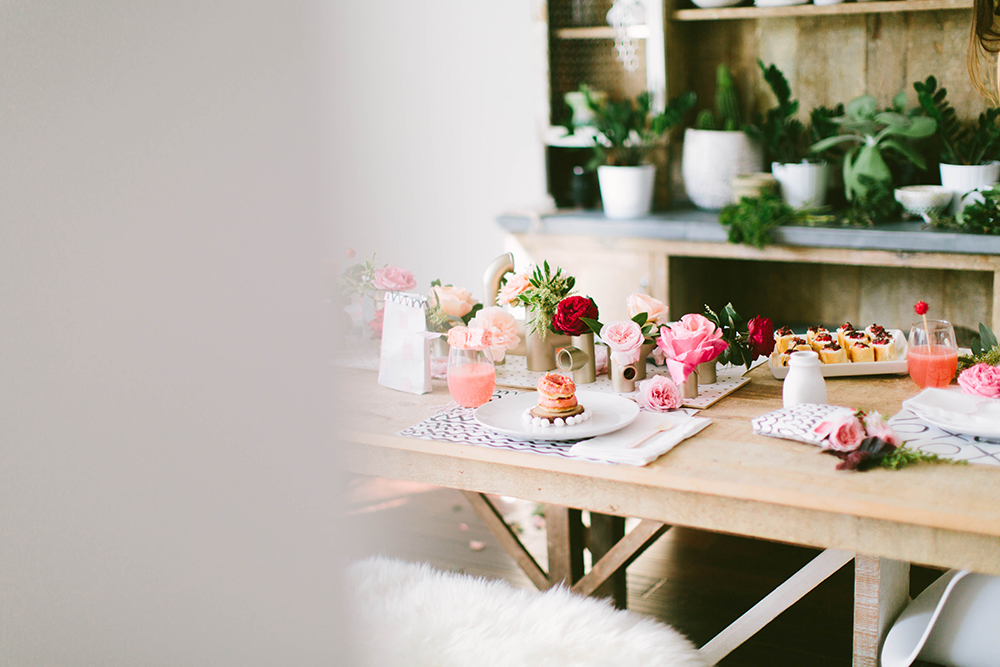
Right now I have this table runner on my dining table filled with greenery! Have fun with it!
XO
… Read More
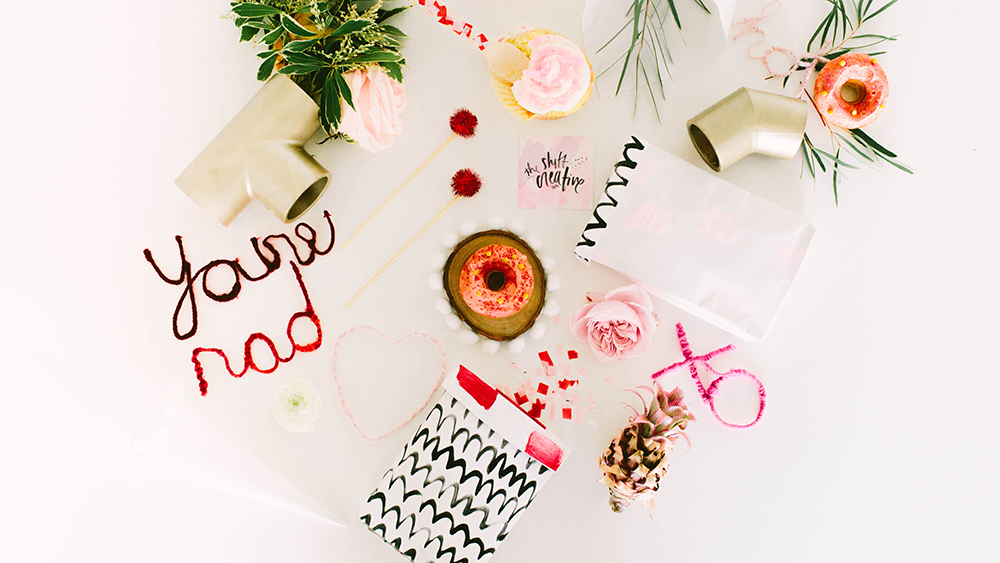
Who doesn’t like to go to a party, and leave with some yummy treats to take home? Heck, even if your on the Whole30 these can be customized to fit your party planning little heart! These hand painted party bags are freaking adorable, and so easy to make!

The Goods
White watercolor paper
Paint
Paint brush
Washi tape
1. Cut a 2×2 piece of paper from your roll
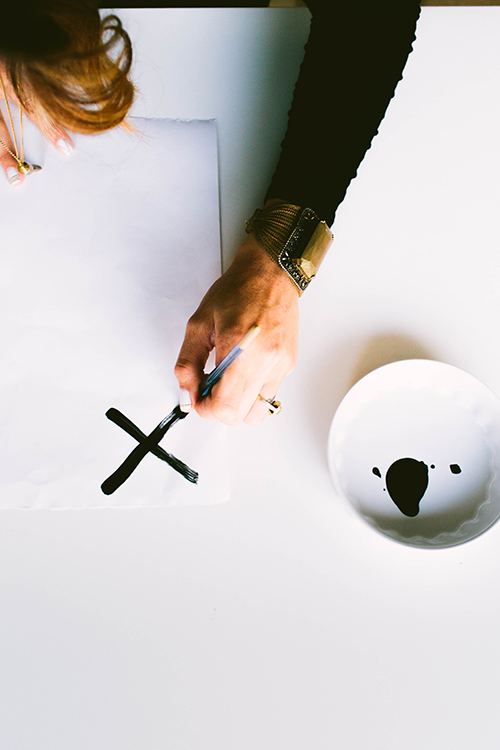
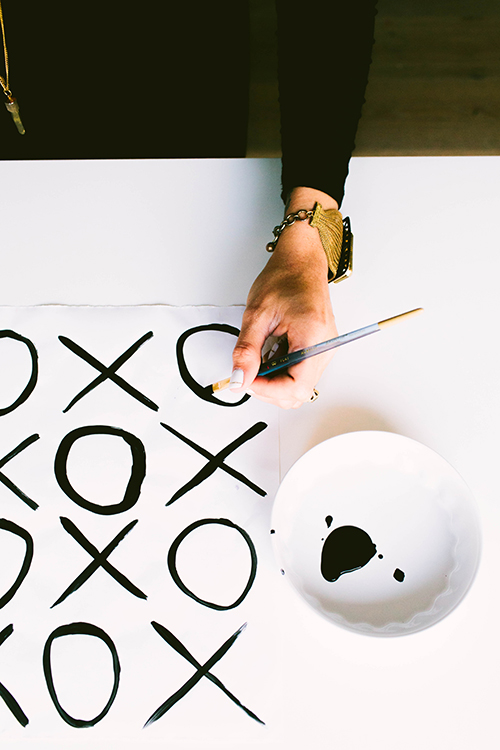
2. Paint desired pattern on paper, and let dry. I wanted to do Valentines Day bags so I painted X’s and O’s, and other fun patterns that appealed to a more modern vday.
3. After paint is dried, fold paper in half.
4. Then, take one side at a time and fold to the middle.
5. Next, fold about 1inch up from the bottom.
6. Now open the folded part of the bottom flap, and press down on either side to make a triangle of sorts
7. Next, fold the top flap to the middle, and repeat with the bottom flap.
8. Adhere with tape.
9. Tape any remaining folds, fill with candy, flowers, or other treats


Photography: To Wander and Seek
Have fun making these!
xx… Read More
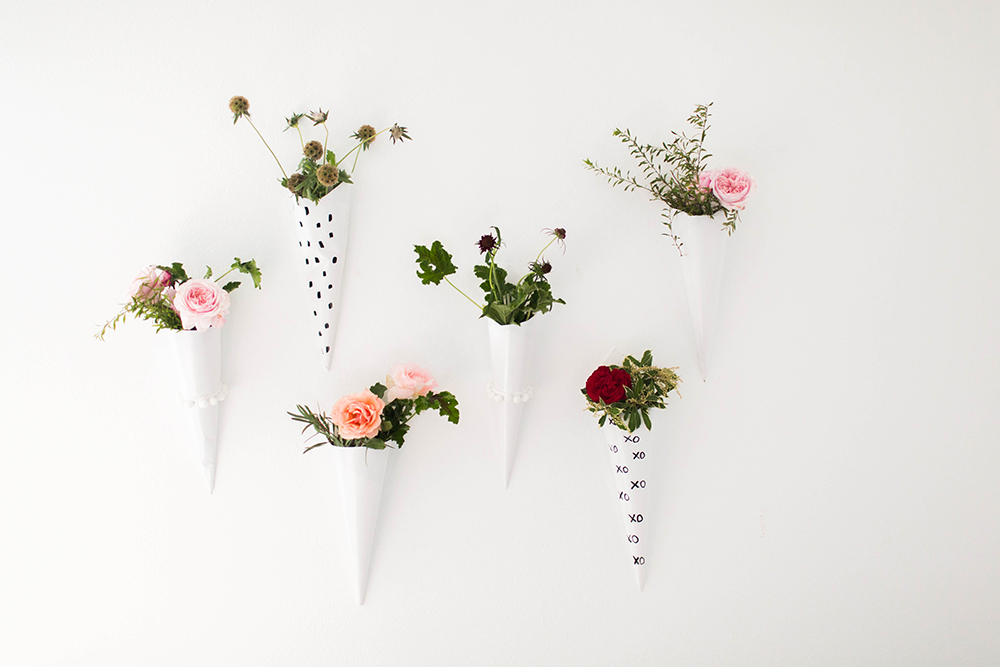
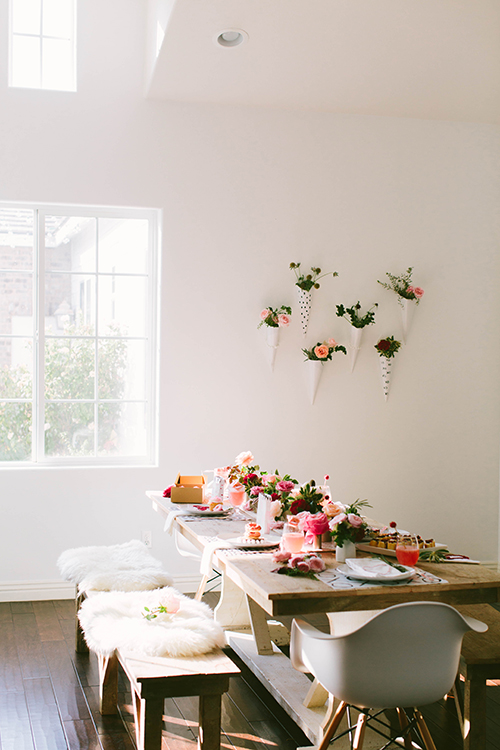
Here at The Shift Creative we have thee most perfect wall decor to spruce up any wall, and for any party! These sconces are a simple modern take on the ceramic ones that might make our wallets sad. They are made of paper, painted, adorned with poms, and filled with fresh flowers- what’s not to love! We’ve all done it- procrastination. We have an event or birthday party, we underestimate time, and it creeps up on us just like the holidays! Well this DIY has me saying “no time, no problem!”
The Goods
White Watercolor Paper
Pom trim
Florals
Hot Glue
Paint (optional)
3M tape
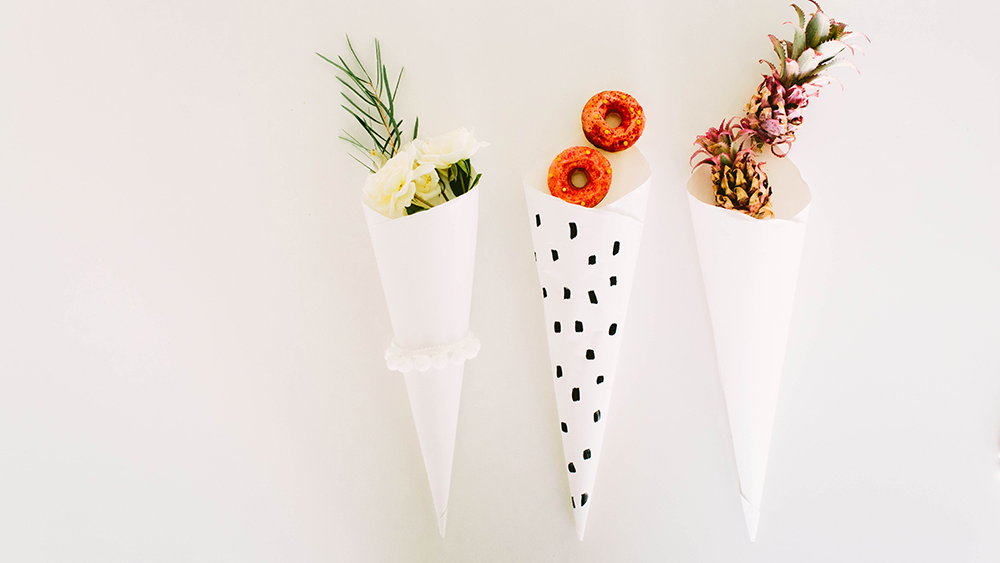
1. Cut your white paper at 2×2. (If you want to paint a pattern on your paper, begin so now).
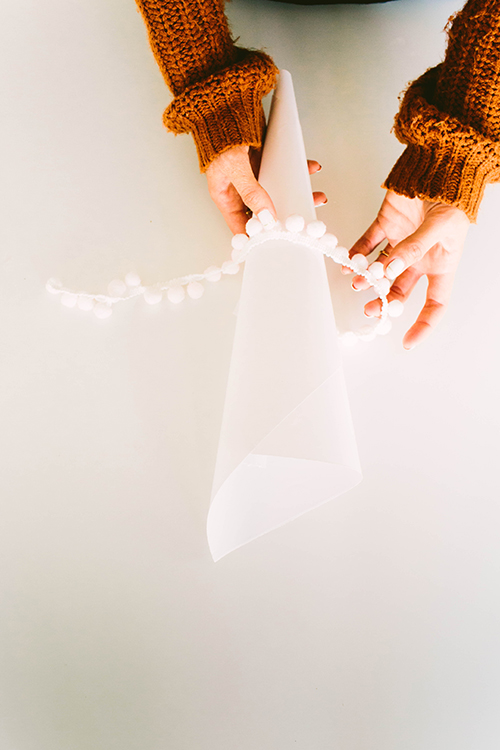
2. Begin by taking one corner of the paper, and tightly rolling to the other side. When rolling, make sure the bottom stays tight, but the top has a wide opening for a bouquet of flowers.
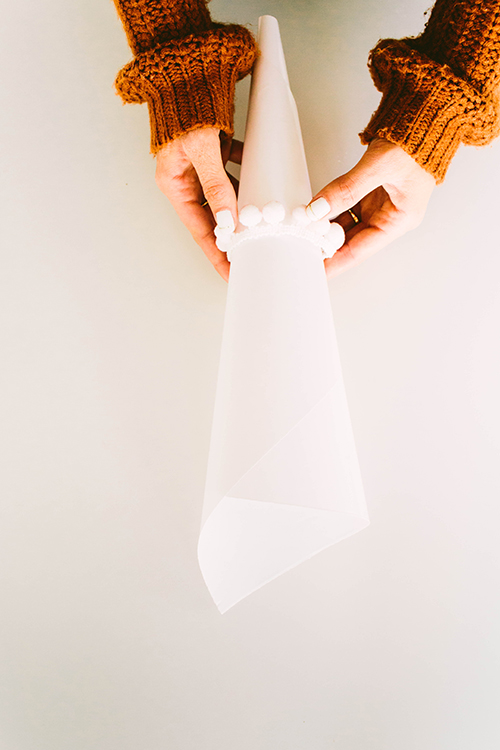
3. When cone shape is formed, take your hot glue gun adhere the sconce closed.
4. Then, take your pom trim and glue it to the middle of the sconce.
5. Take a piece of 3M tape and adhere it to your wall.
6. Make a dainty bouquet, and fill the sconce.
7. Act like you planned on making these in advance when people ask you about them!


xo
Alexis
Photography: To Wander and Seek | Florals: Lavenders Flowers | Design: The Shift Creative… Read More
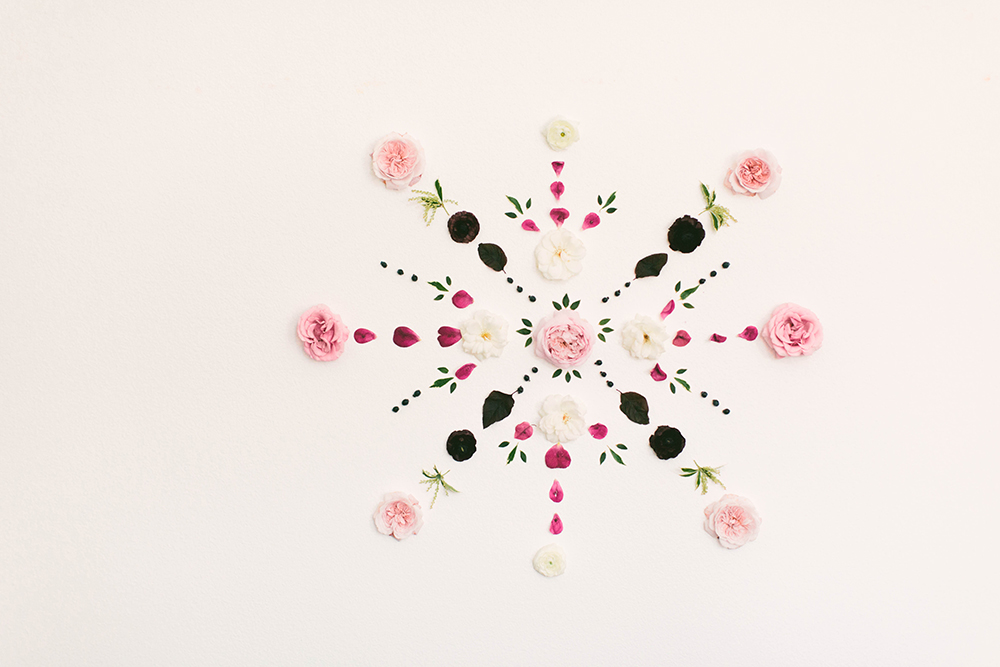
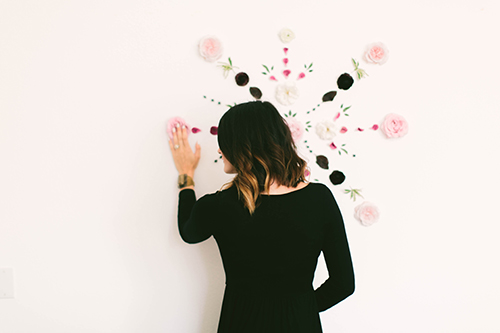
The Shift Creative teamed up with Lavenders Flowers to bring you a modern take on the well known floral mandala. Typically, these intricate floral art pieces are sketched, painted, or even used as a floor piece, BUT we thought how rad would it be if we could implement these concepts as a backdrop for a party or event?! So, we did just that! Introducing a vibrant color scheme perfect for Valentines Day, we begun working our way from the center outwards. Set upon a clean white wall, the nature of the outdoors was really exemplified in our creation of the Floral Mandala Backdrop |Photos by the wonderful To Wander and Seek|

The Goods
Florals
3m tape//glue dots
backdrop//white paper
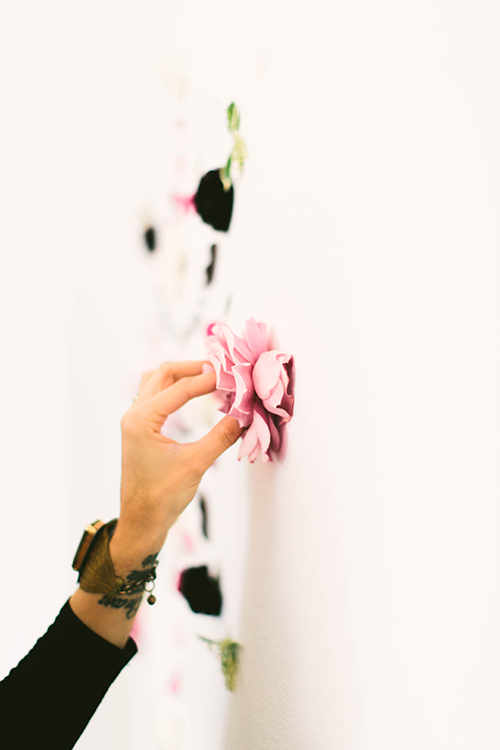
1. Gather your array of fresh florals. While gathering, keep in mind you want to use all parts of the flower: petals, leaves, and the flower head. The more components you acquire, the more intricate it will appear.
2. While I used a white wall I will caution that the glue dots are a bit messy to clean up, and some of the natural dye from the florals might leak onto your wall. That said, a large piece of white paper/plastic, wood backdrop, white pegboard, etc will be efficient!
3. Find the center of your backdrop and start with a focal point. There is no wrong way of doing this despite the desire for symmetry! Add a piece of 3m tape for the larger flowers, and a glue dots for leaves and smaller flower heads.
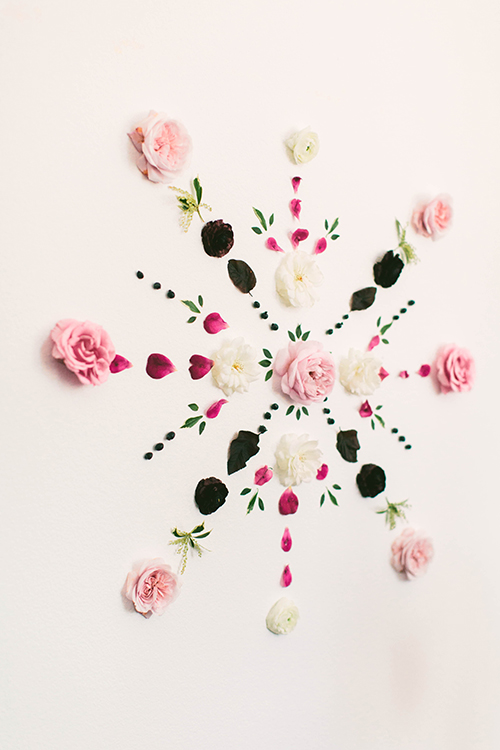
4. We started branching out with 4 larger garden roses, making a cross. Use the center flower as a reference.
5. Next, we then proceeded to make an X with different florals/leaves seemingly through the center rose.
6. We wanted ours to be more complex, so after we had our base formed we started filling out the sides of the “cross” as in step 4. Again, use your own creativity!
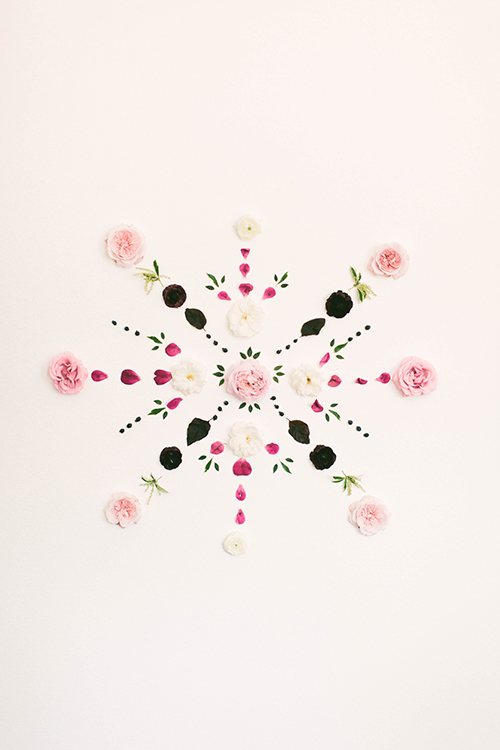
Seriously, this is so pretty and we loved how the fresh florals looked in such a minimalistic setting! You can even do multiple mandalas in different sizes!
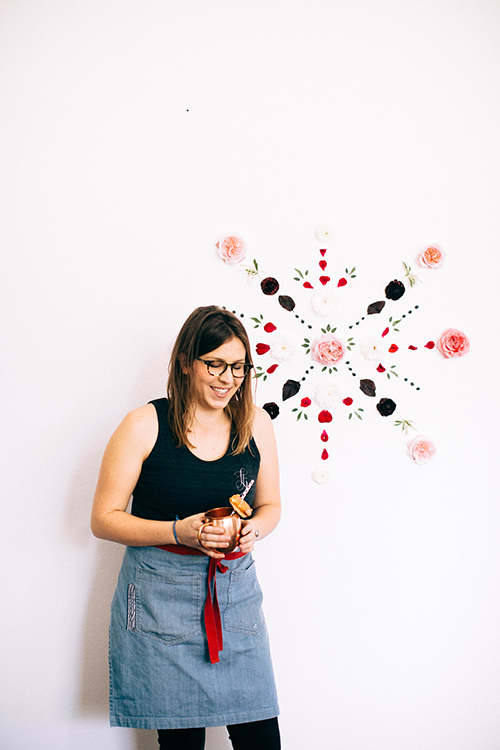
Photography: To Wander and Seek |Event Design: The Shift Creative | Florals: Lavenders Flowers
Hope you love this take on the Mandala! Tag me in your creations on Instagram @theshiftcreative
xx… Read More
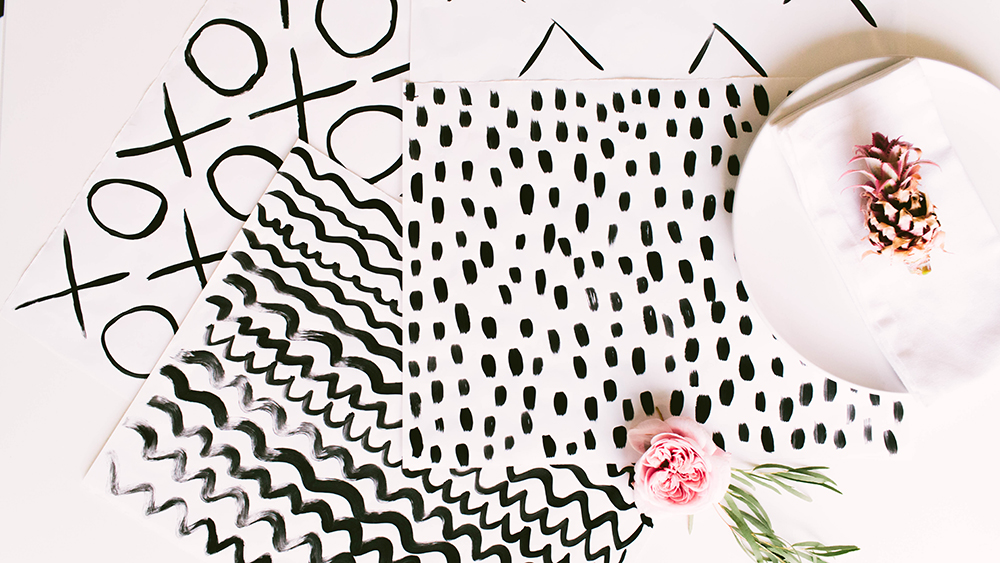
Featured on Style Me Pretty Living, these placemats are a must for your next shindig! I don’t know about you, but I always have thee hardest time finding the right placemats for my parties and events. They aren’t the right shade, they aren’t the right pattern- they just aren’t right! So I decided to come up with my own. The good thing is that these are super cheap to make, and you can make them any way you want! Your search is over! Clean lines, funky patterns, and black and white are on trend right now- even for Valentines Day (which tends to be more on the cheesy side than the classy side). Continue reading for materials and directions to make these Painted Modern Placemats!
The Goods
Watercolor paper role
Paint
Paintbrush
1. Cut your paper 2×2
2. Paint desired pattern using your acrylic paint. I wanted a more modern clean look, so I opted for black paint. There is no right way to do this. I used squiggles, arrows, blots, dashes, and X and O’s.
3. Let dry, and voila you have a easy placemat that is customizable to your event!


As you can see, my handwriting skills are not my strong point, but I sure did have fun with all the dashes, and lines! Imperfection is pretty.
XO… Read More


